Beeswax wraps are the best alternative to plastic wrap and aluminum foil around! I did this DIY before I had a blog, and therefore did not document it. However, I wanted an extra large wrap, and had some leftover cotton cloth from before, so I had some friends over for a "make and take," and we got to make some for ourselves and as gifts!
Supplies
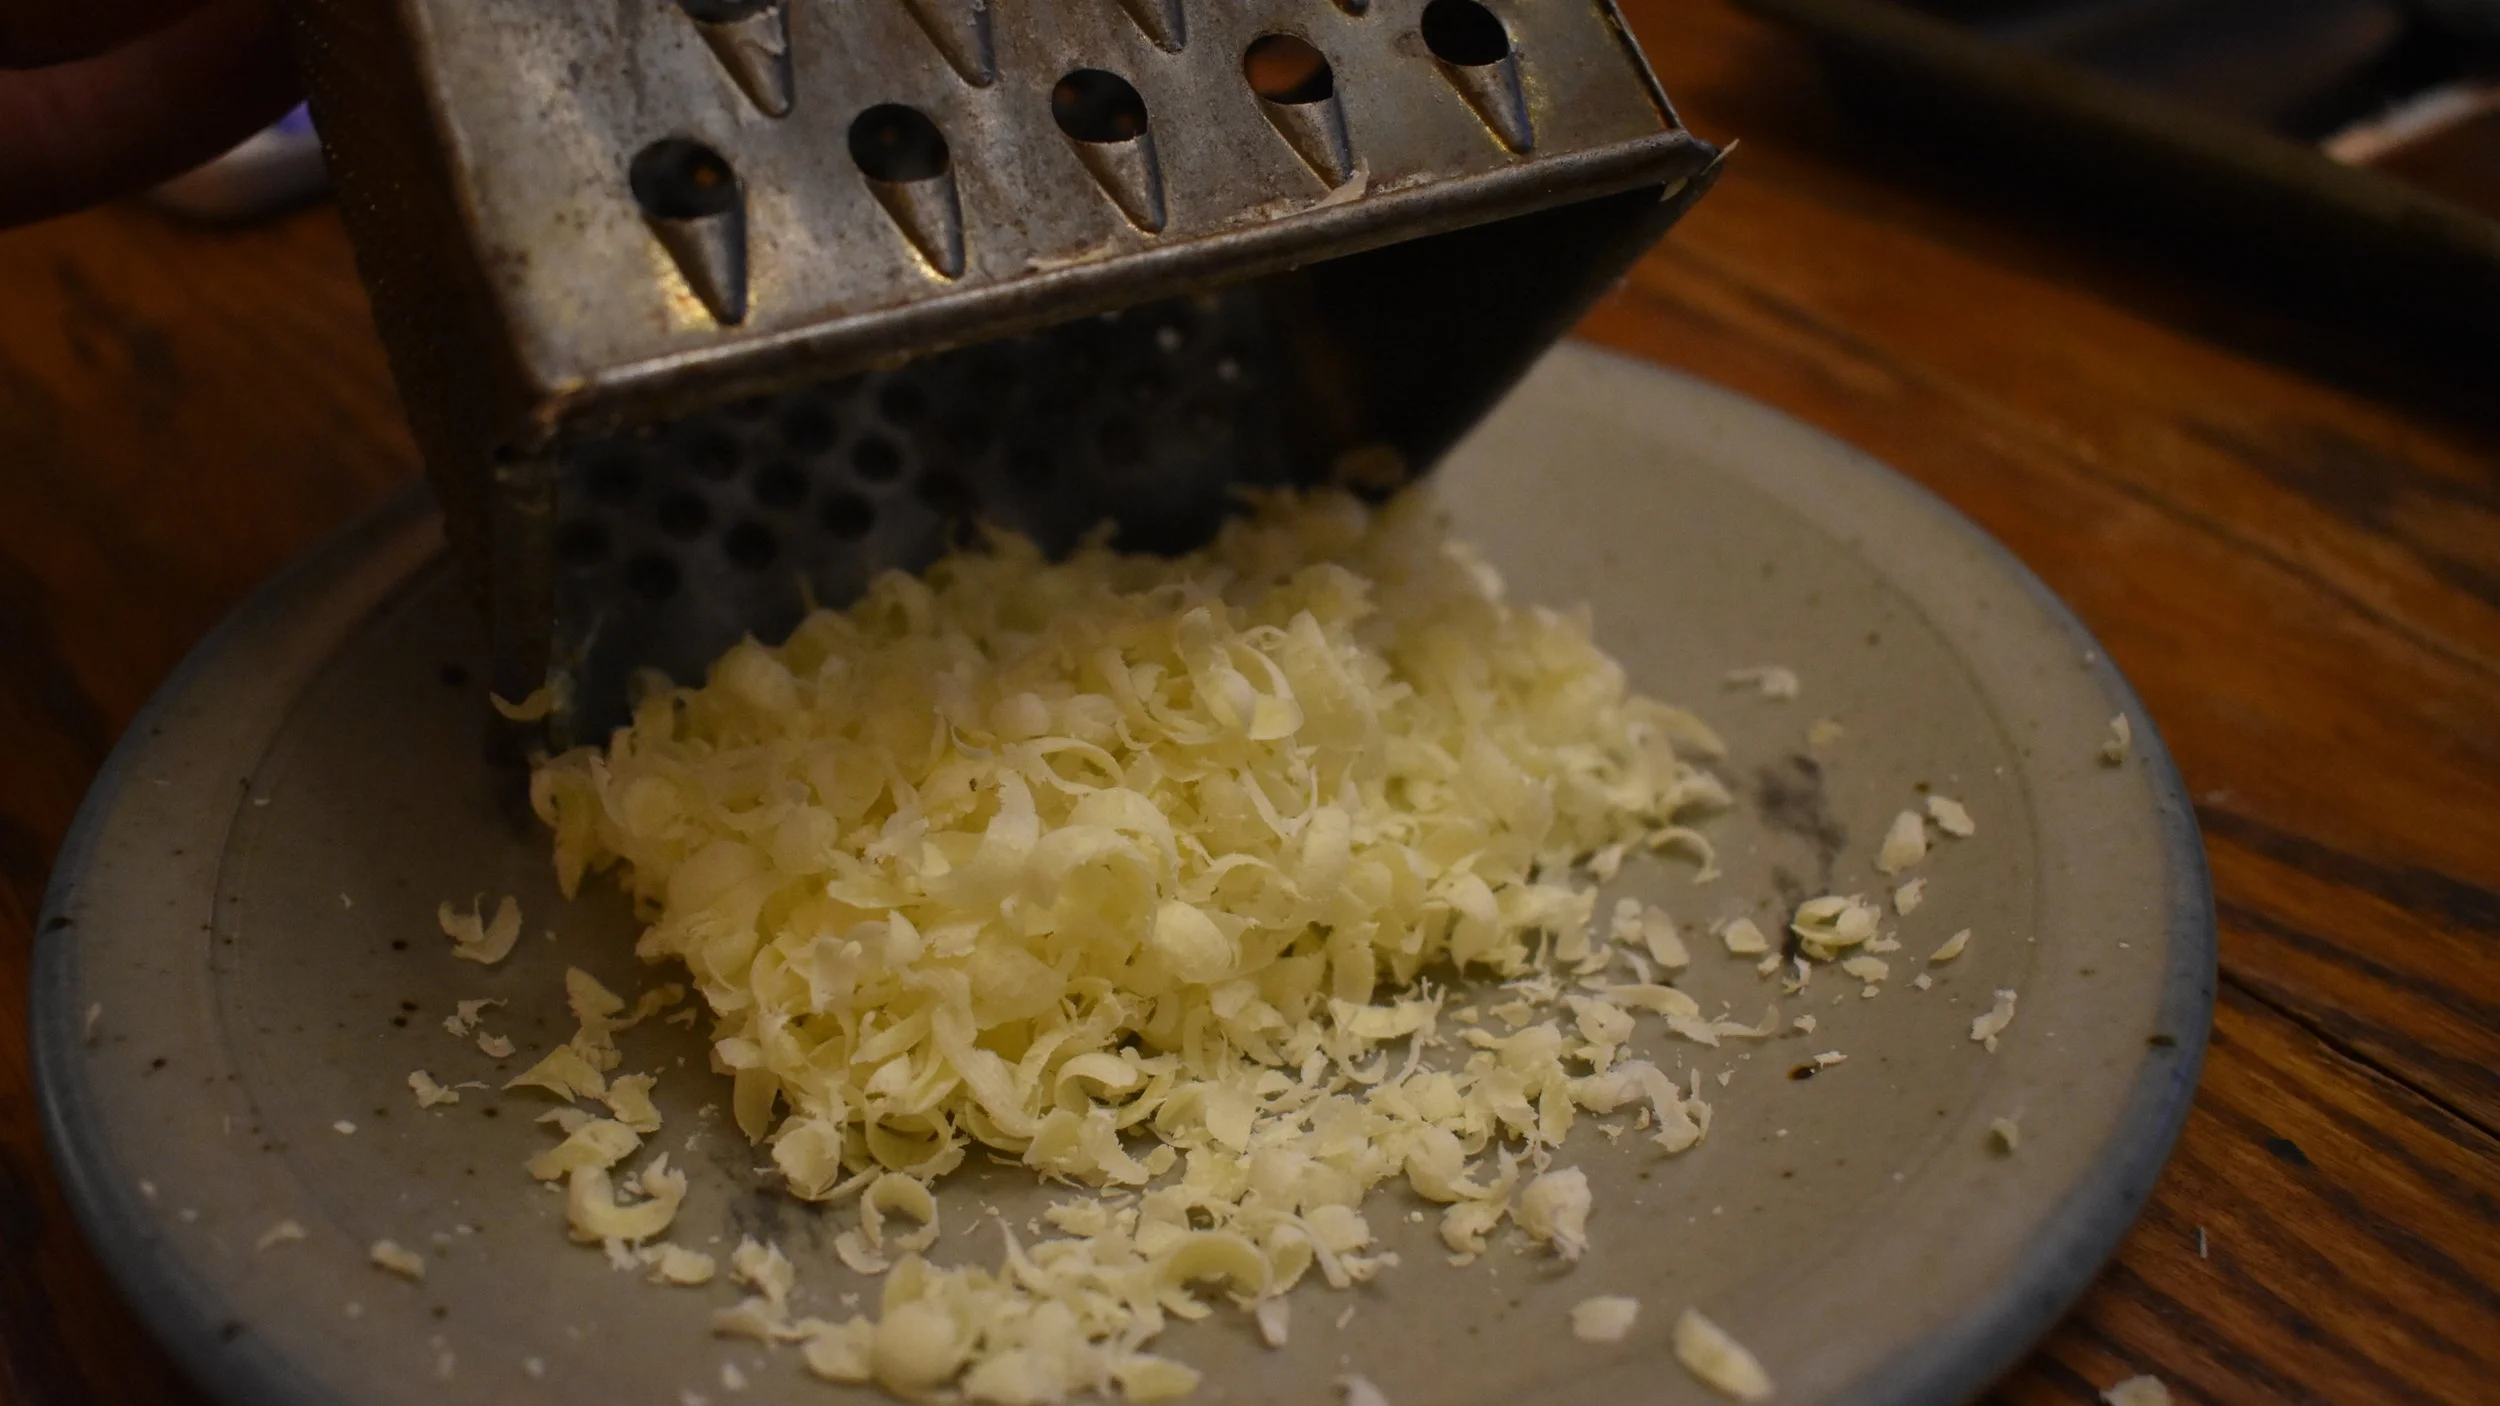
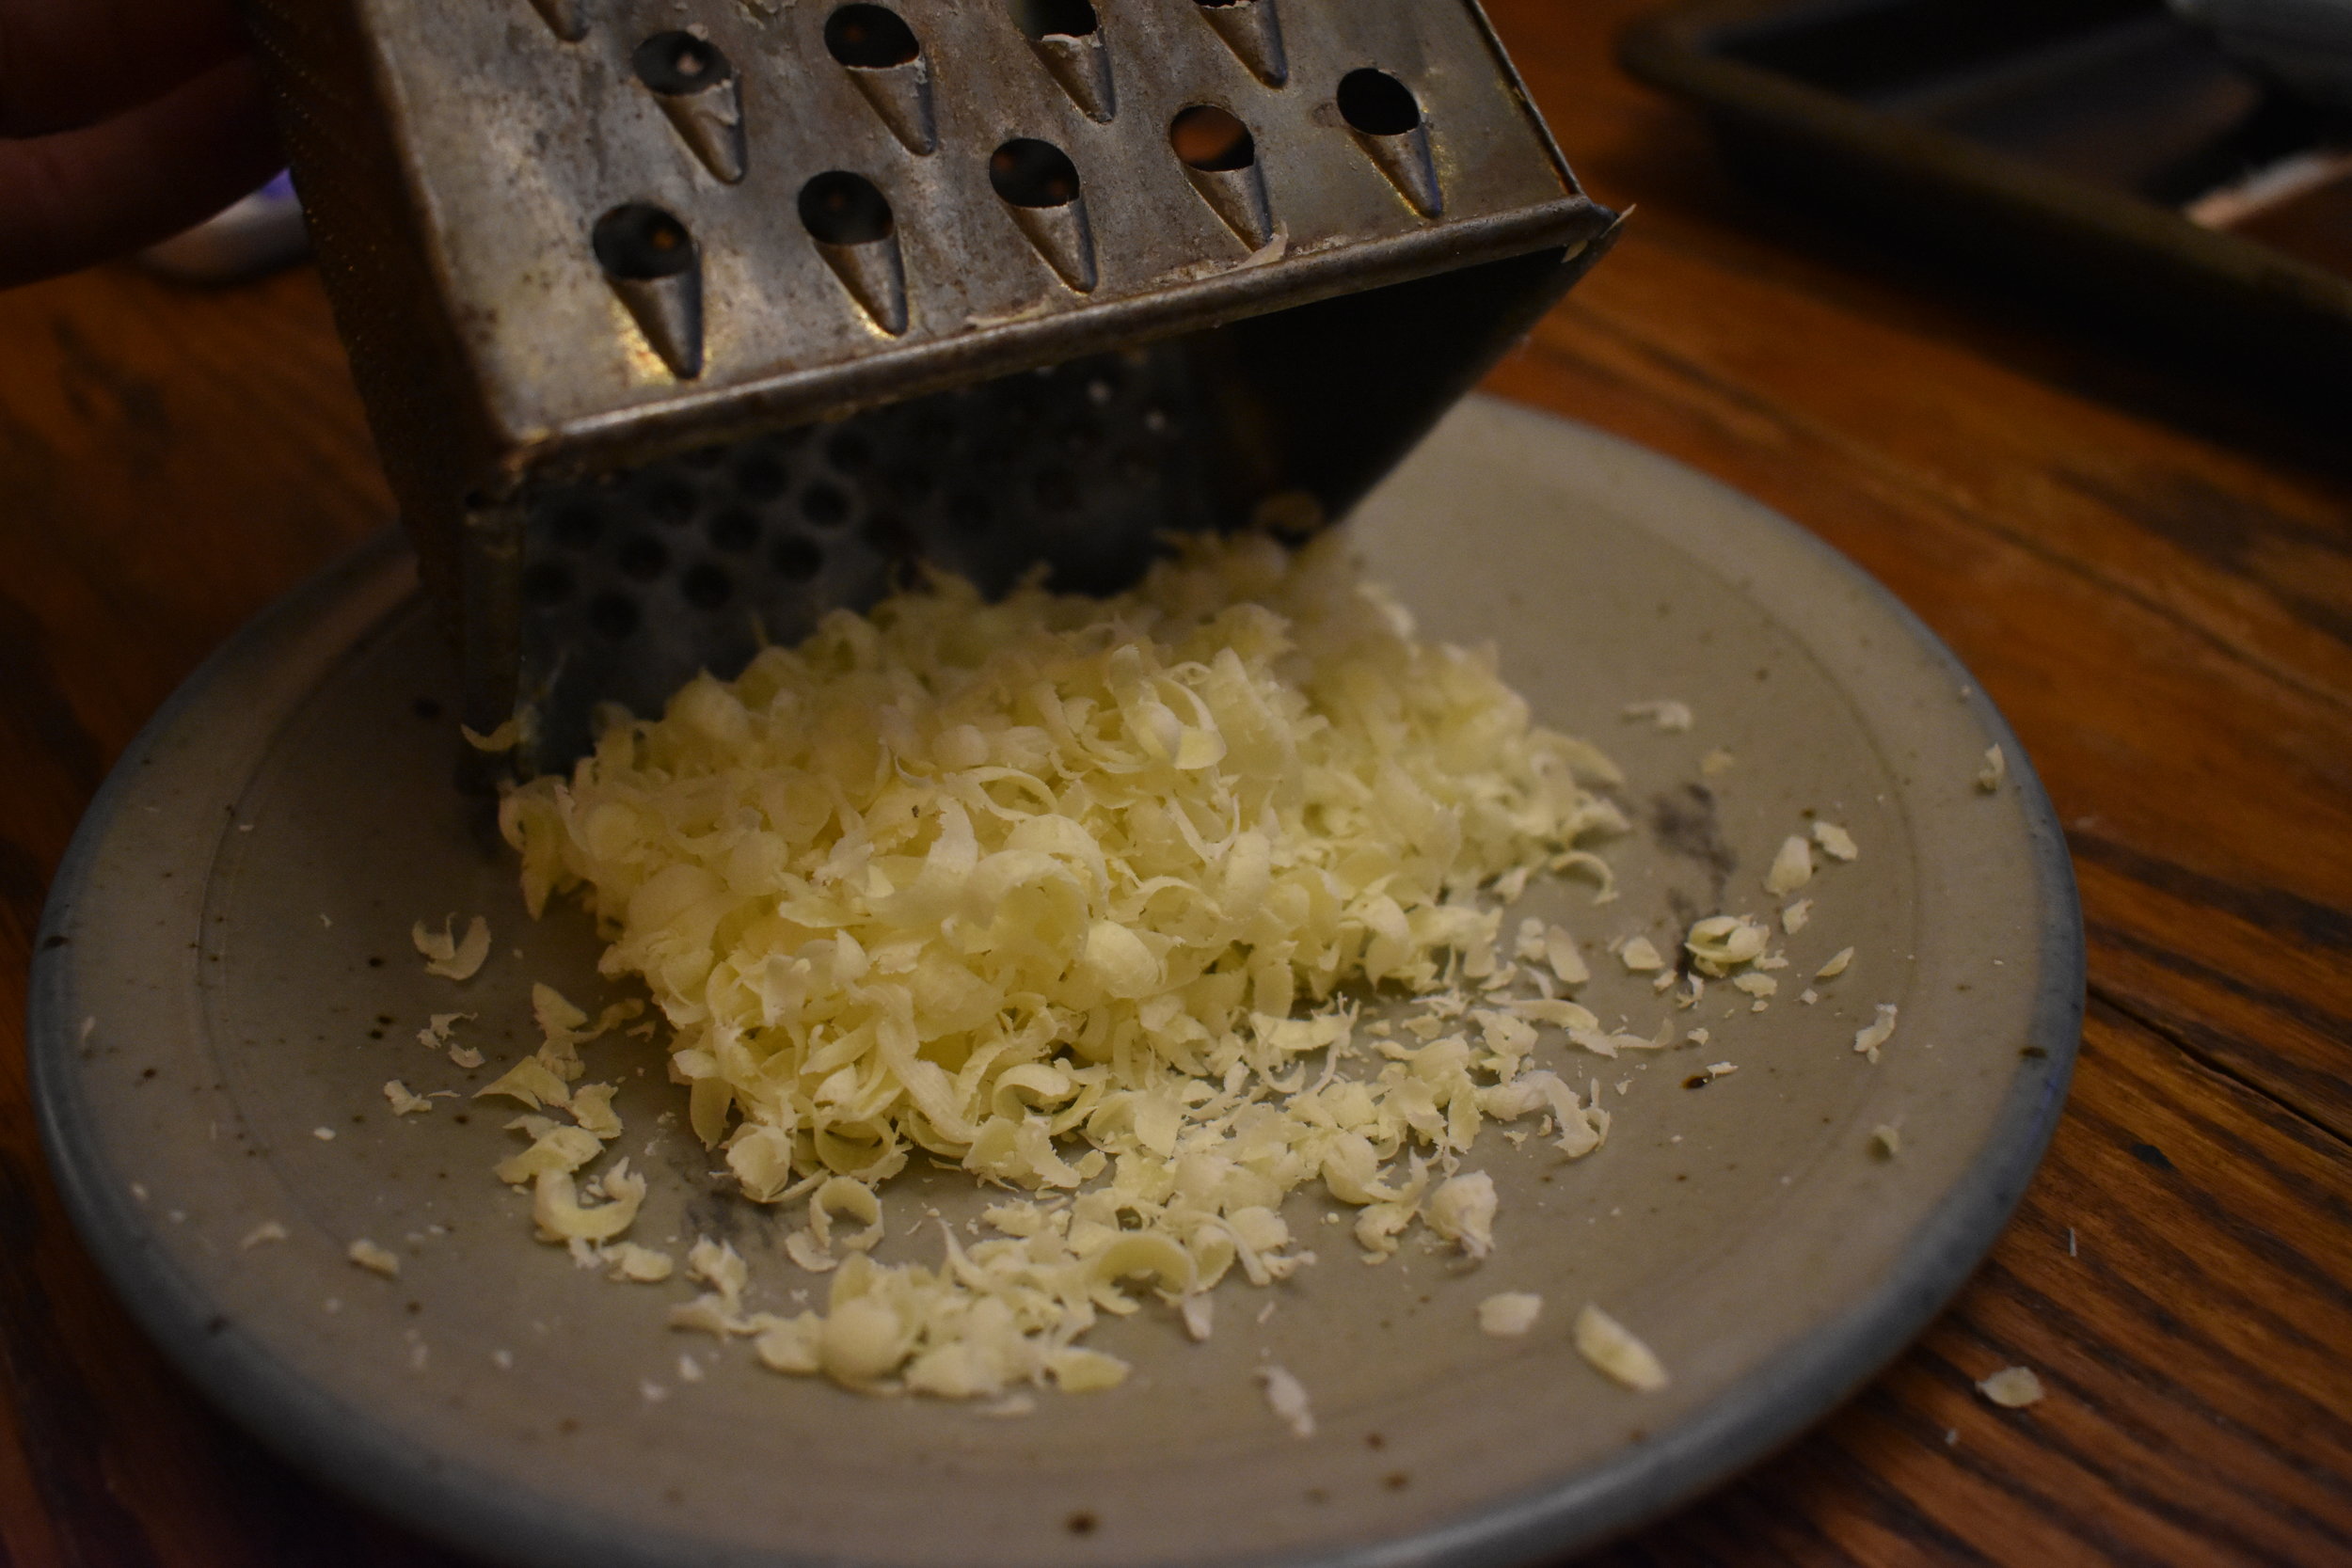
Beeswax
I grate mine, but you could also get pellets (about 0.5 oz. per wrap depending on size). This time I was able to use wax from a friend's hive. The first time I did this I used wax that came unpackaged at Natural Grocers. You can also find beeswax from tons of small honey shops all over the place (like from here or here)!
100% Organic Cotton Fabric
I recommend organic because you will be wrapping and re-wrapping food, and its very easily accessible online or at your local fabric store. GOTS approved is best!
I use a variety of sizes: 8x8 in., 12×12 in., 22×22 in., it all depends on your needs, but definitely cut before you craft!
Cookie Sheet
Fair warning, this sheet will no longer be good for cookies, so use an old one or pop over to Goodwill and grab one just for beeswax purposes.
Paintbrush
Will no longer be good for painting! Only beeswax-related activities. You can get small ones at most hardware stores for a dollar or two.
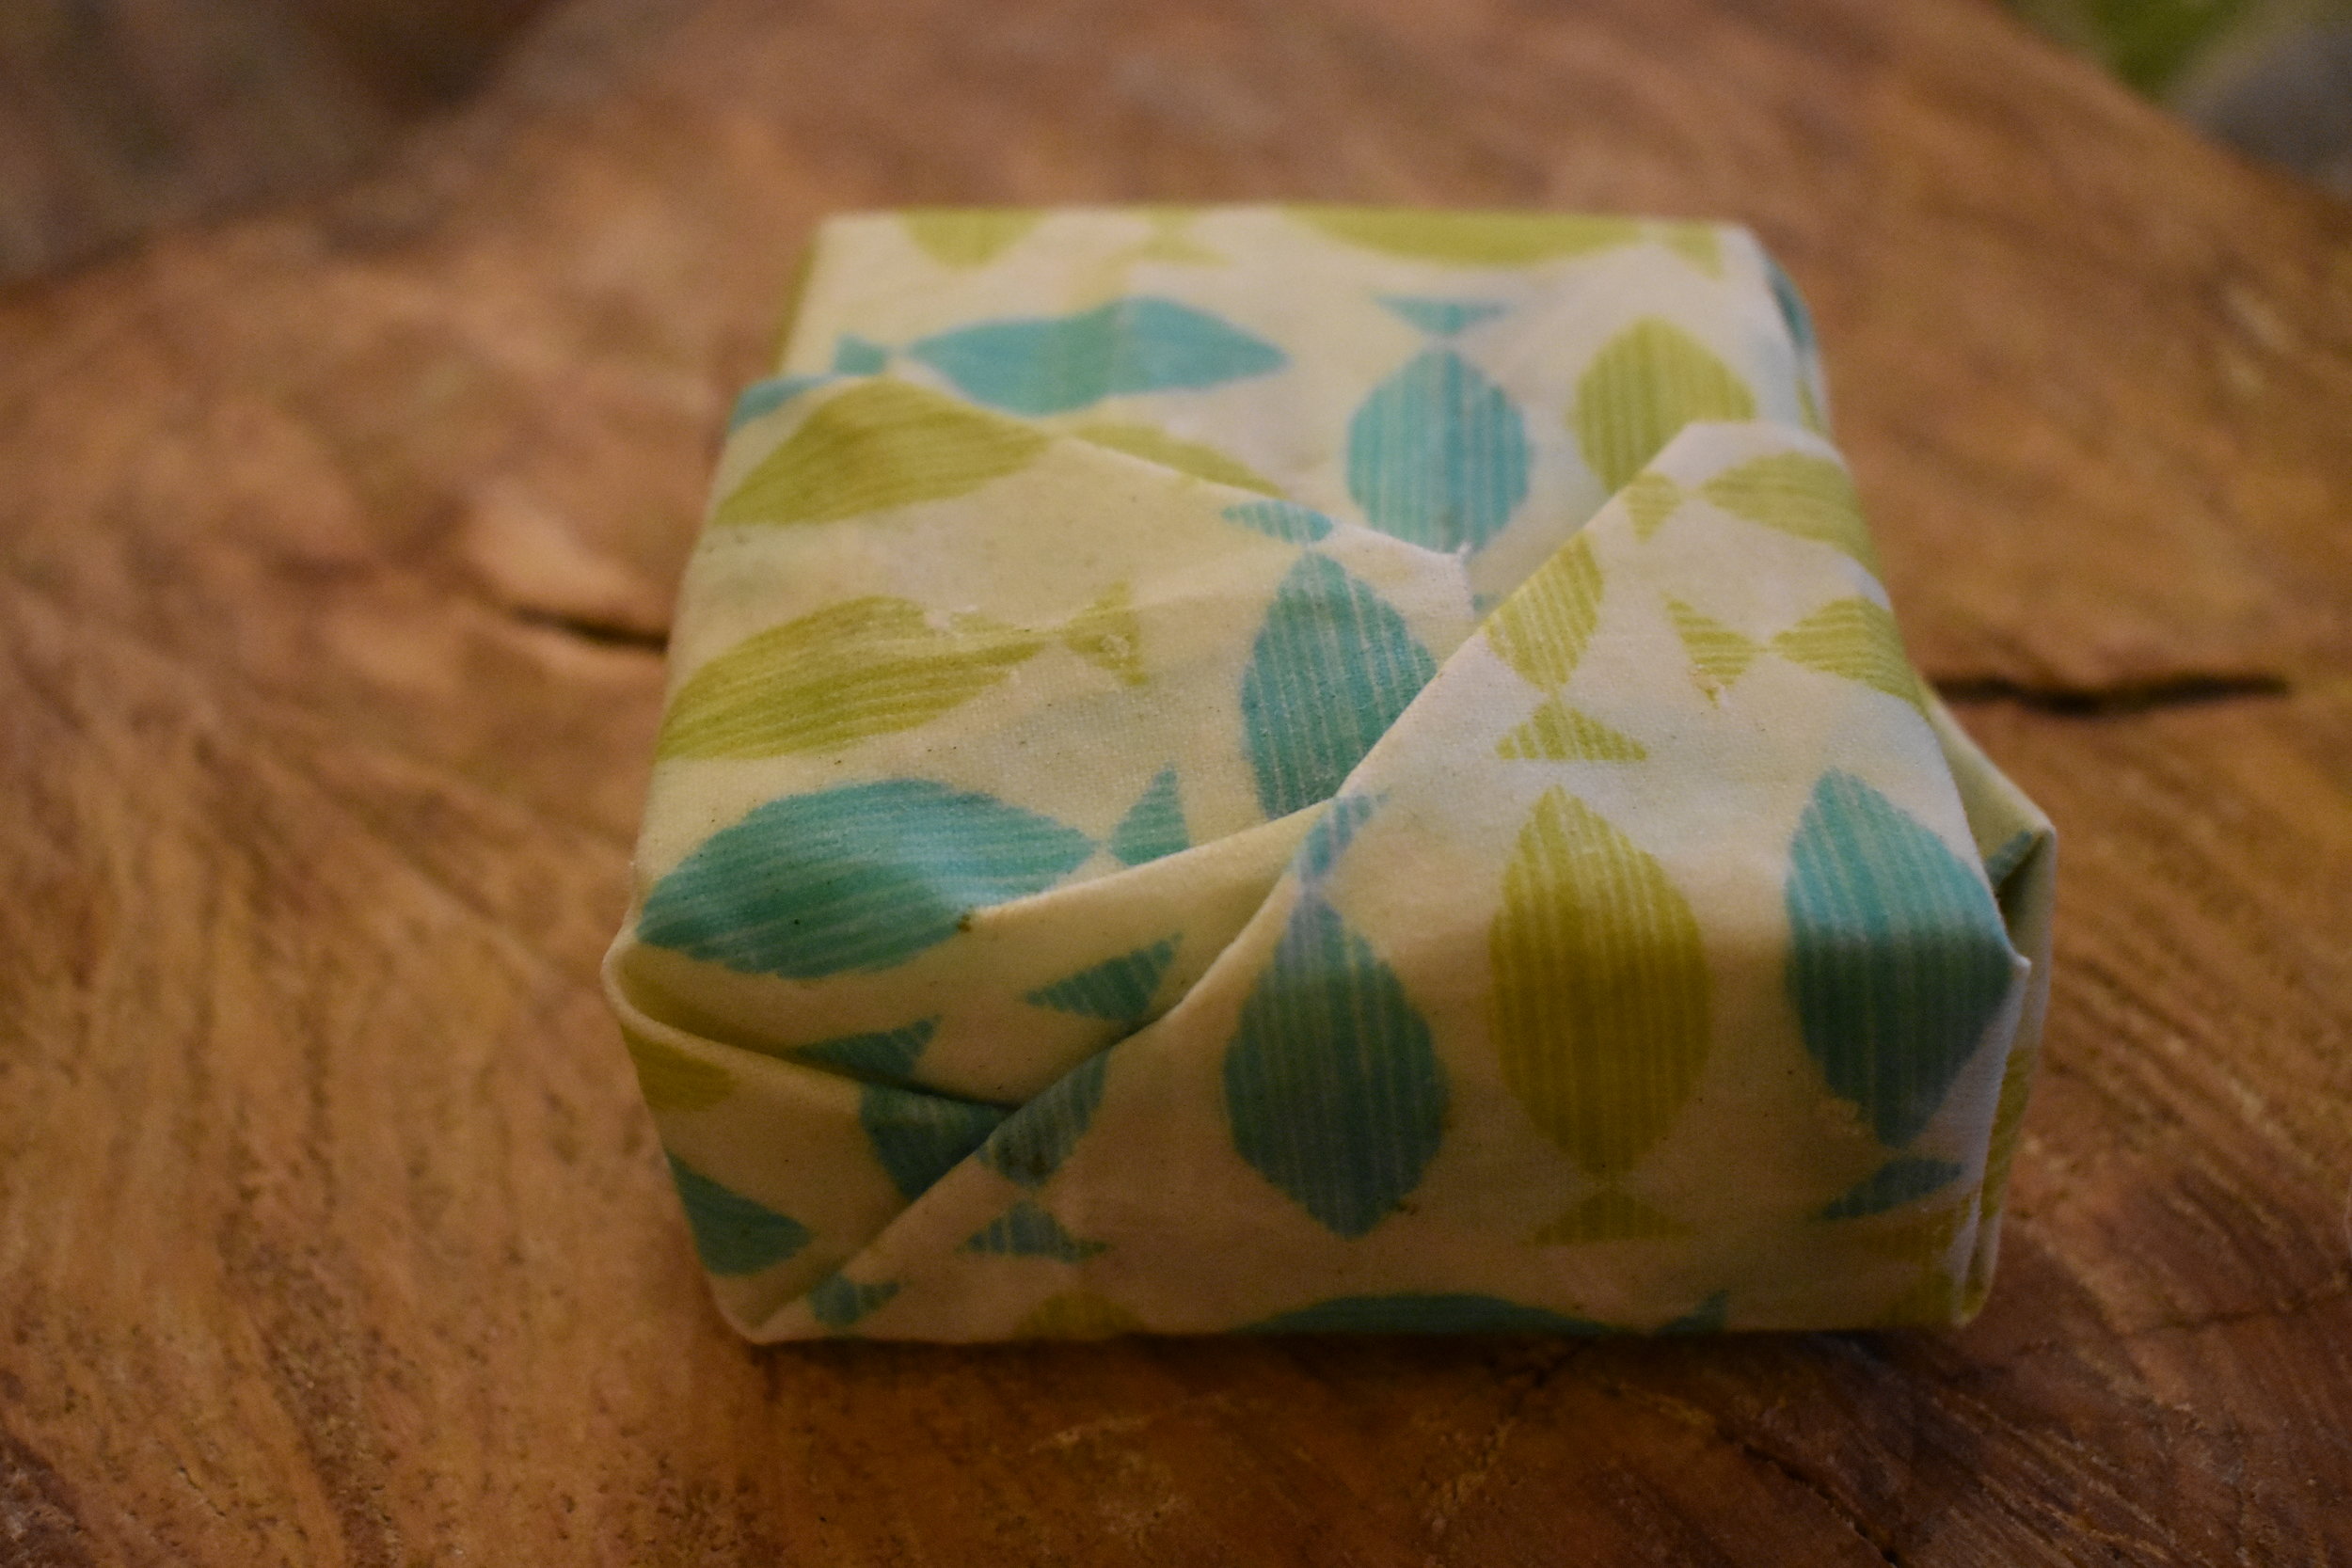
Cheese Grater
You could fudge the line with this one, but I'd also recommend just using this for beeswax. I got my super old one at Goodwill for $0.99.
Yarn, Twine, or String
Make a makeshift clothesline to dry the cloths on.
Directions
- Preheat oven to 185F. This low heat melts the wax without burning it, DO NOT put the oven higher, or on broil!
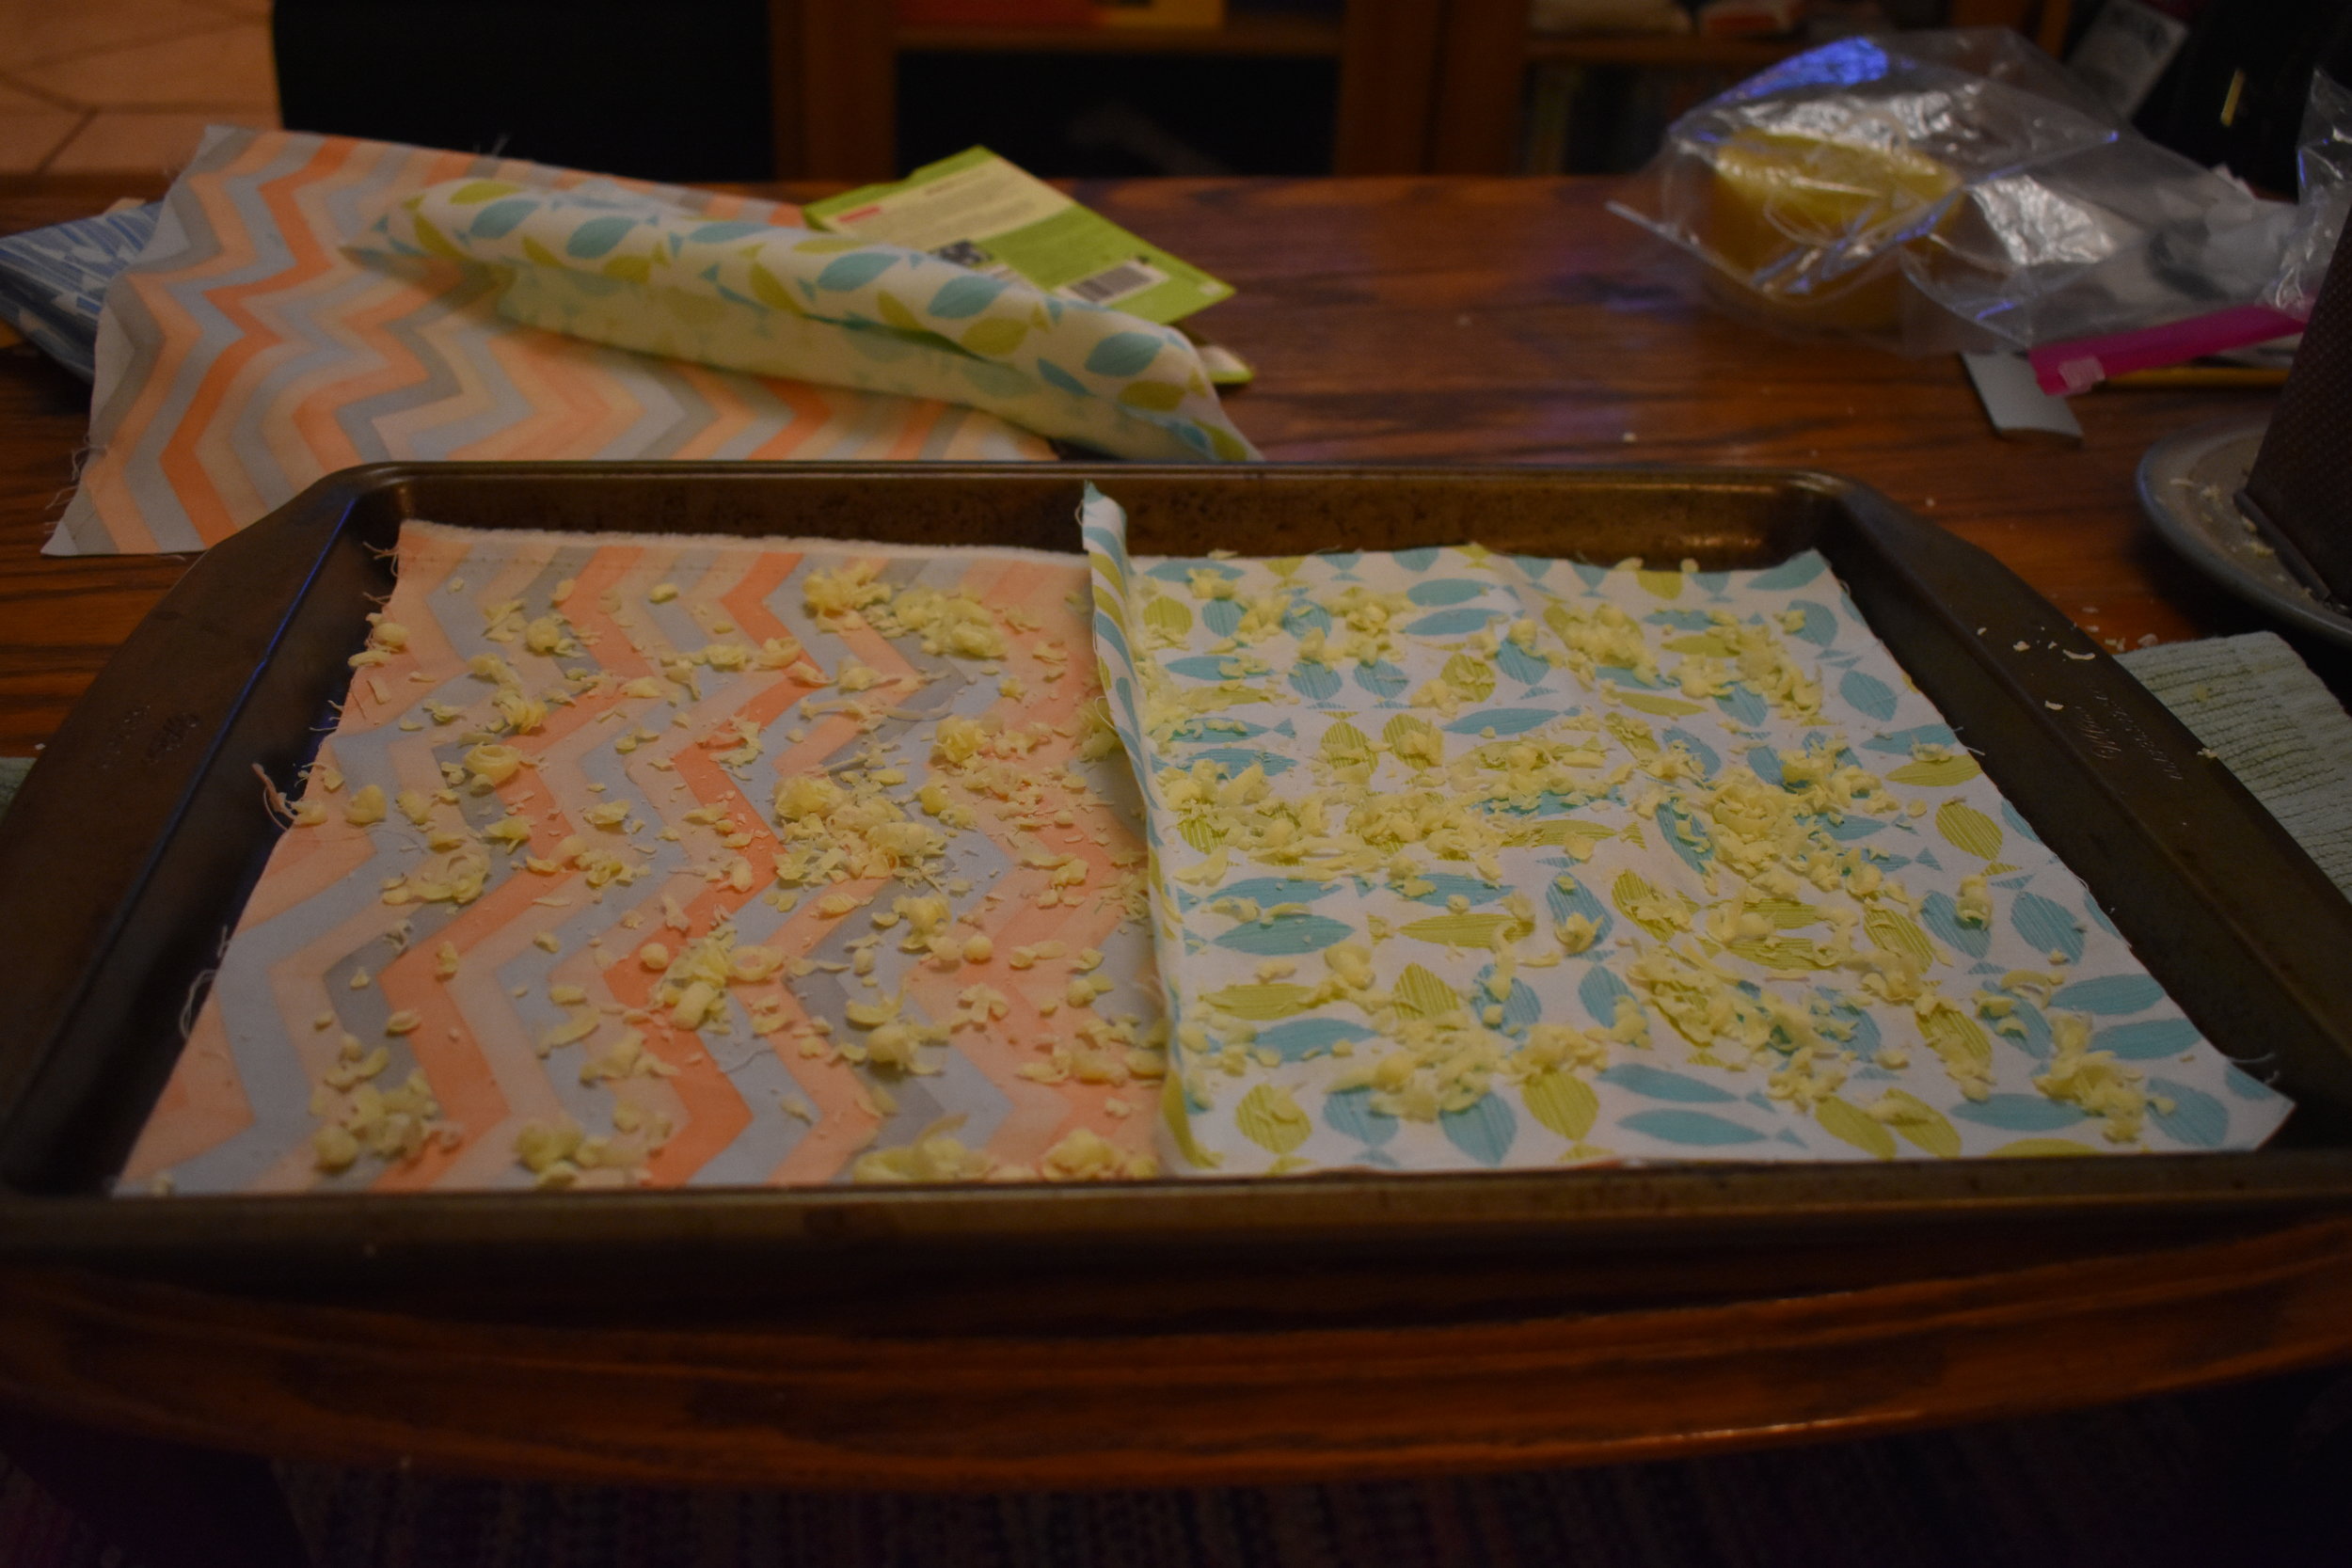
- Place your organic cotton fabric on cookie sheet.
- Sprinckle your grated beeswax over the fabric.
- Place cookie sheet in the preheated oven for about 5 min.
- Once the beeswax has melted, remove from oven.
- Brush the paintbrush over the fabric to evenly coat it, and to get any non-coated places. If needed, sprinkle a little more beeswax on a "bald spot" and put back in the oven for a few min.
- Hang on your makeshift clothesline to cool/dry (will only take a min or two)


Use and Care
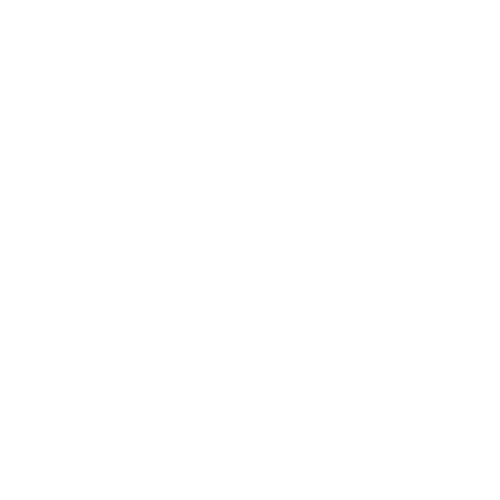
Wrap around your food and seal by folding, with the heat from your hands, rubber bands, or spare string!
Wash in cool water with a mild soap. Liquid castille (like Dr. Bronner's) is fine, but don't use harsh dishwashing detergents.
These wraps can last months to years depending on your use of them! Once they've worn out a bit, you can repeat the waxing process to extend their lives!
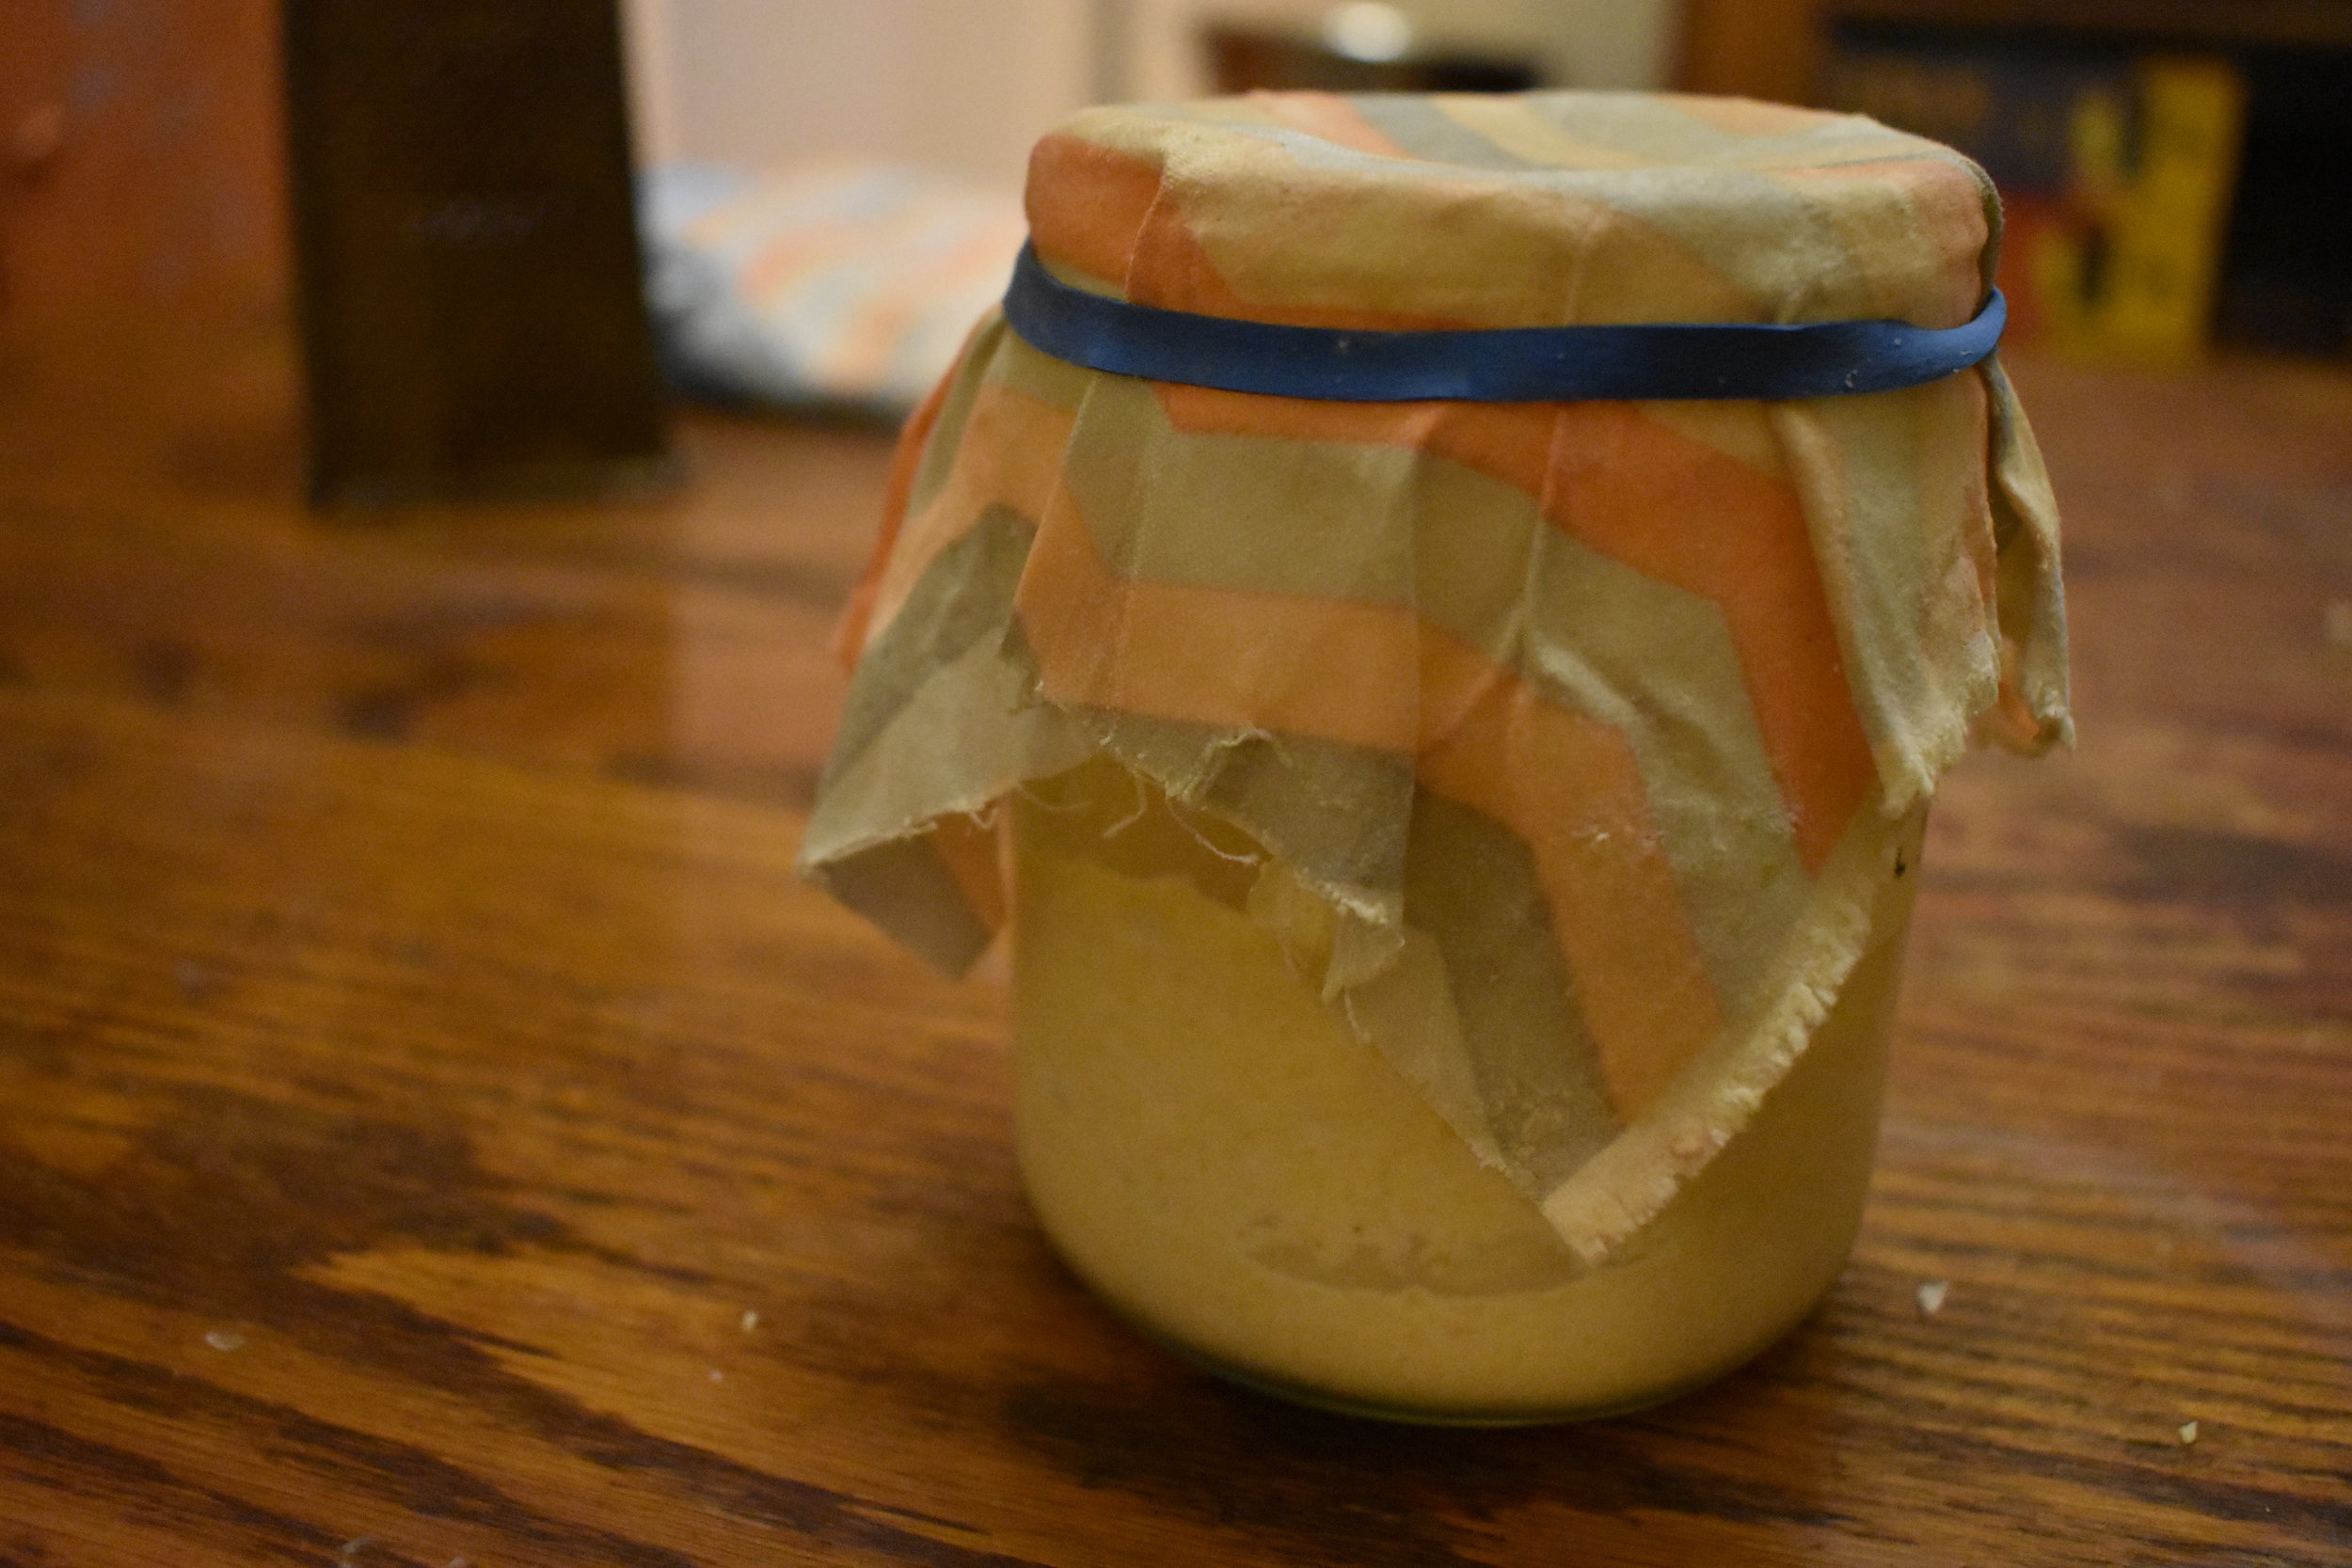
My beeswax wrap covering my sourdough starter.
notes
There are some DIY's which include Pine Gum Resin and Jojoba Oil in their recipes. This gives the wrap a more sticky grip. However, these often come packaged in plastic, and I have found just plain old beeswax to work just fine! But if you want to give them a try Mommypotamus has a great tutorial!
If you want beeswax wraps, but don't feel like making them. Never fear! Beeswrap is a great brand and there are also some awesome options on Etsy!
The first time I did this project I used the instructions from My Healthy Green Family's DIY!